

When creating impactful presentations, understanding the different views in PowerPoint is crucial. Each view serves a distinct purpose and can streamline the design and delivery process. Whether you’re building slides, reviewing structure, or presenting to an audience, knowing which view to use (and when) can save you time and enhance your effectiveness.
In this guide, we’ll walk through the key PowerPoint views, their specific use cases, and tips on how to leverage each one efficiently.
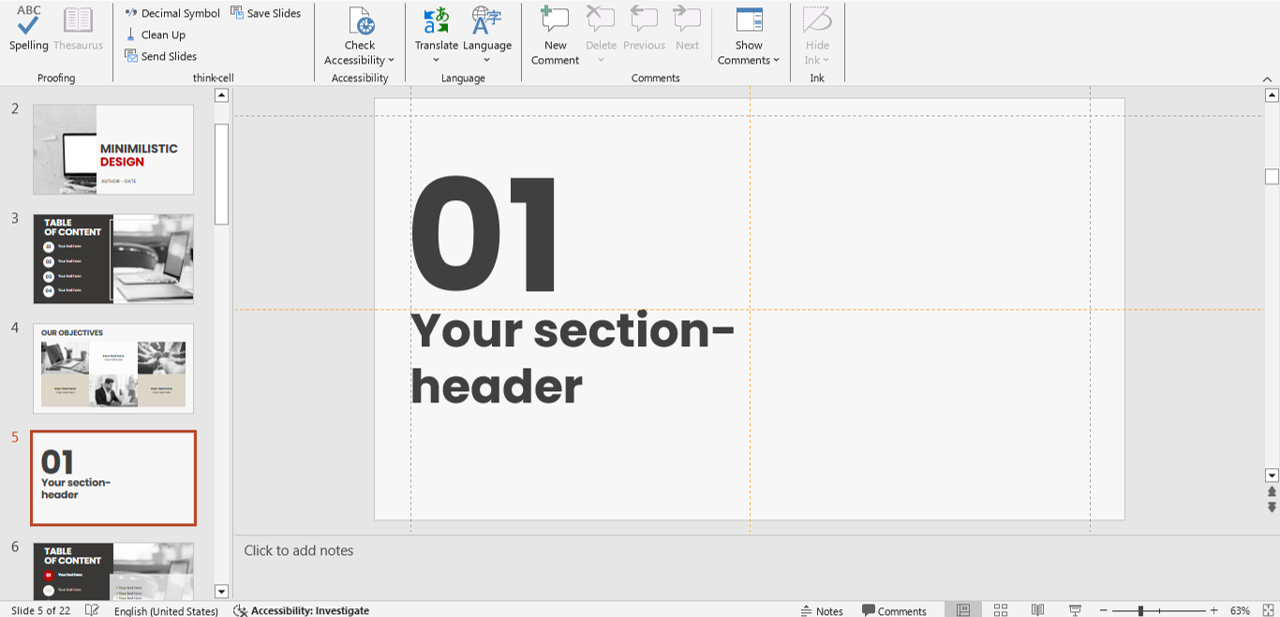
1. Normal View: Your Default Workspace
normal view
Best for: Designing and editing slides.
Normal View is the default workspace where most PowerPoint users spend the majority of their time. It includes three panes: the slide thumbnails on the left, the main slide workspace in the center, and the notes pane at the bottom.
Key Tips: – Use slide thumbnails to rearrange or duplicate slides quickly. – Add speaker notes in the Notes Pane to help guide your presentation. – Format shapes, text, and graphics with full access to all tools.
Many beginners overlook the fact that the Normal View offers the most comprehensive access to PowerPoint’s formatting tools. By customizing the Ribbon Toolbar while in Normal View, you can save time and work more efficiently.
📌 Want to elevate your slide design? Check out our blog on 5 Slide Design Mistakes That Are Ruining Your Presentation.
2. Slide Sorter View: Organize Like a Pro
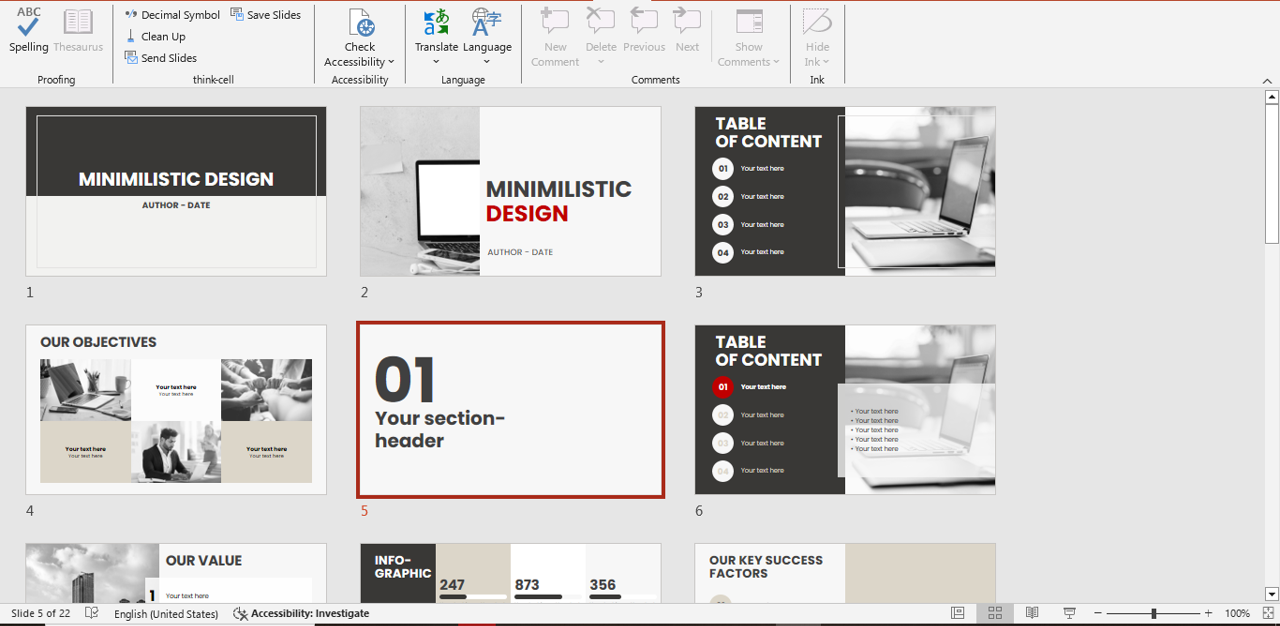
Best for: Structuring and reordering slides.
Slide Sorter gives you a bird’s-eye view of all your slides. This view makes it easier to move sections around, apply transitions, and manage timing for each slide.
Key Tips: – Drag and drop slides to quickly change the order. – View how transitions flow between slides. – Ideal for final run-throughs before presenting.
The Slide Sorter View is also a fantastic tool for identifying repetitive slides or unnecessary clutter. Before finalizing, ask yourself: Does each slide add value? This view makes it easier to cut out filler content, ensuring your message is clear and concise.
👉 Planning a big pitch? Read how to Use PowerPoint for Pitch Decks That Win Clients.
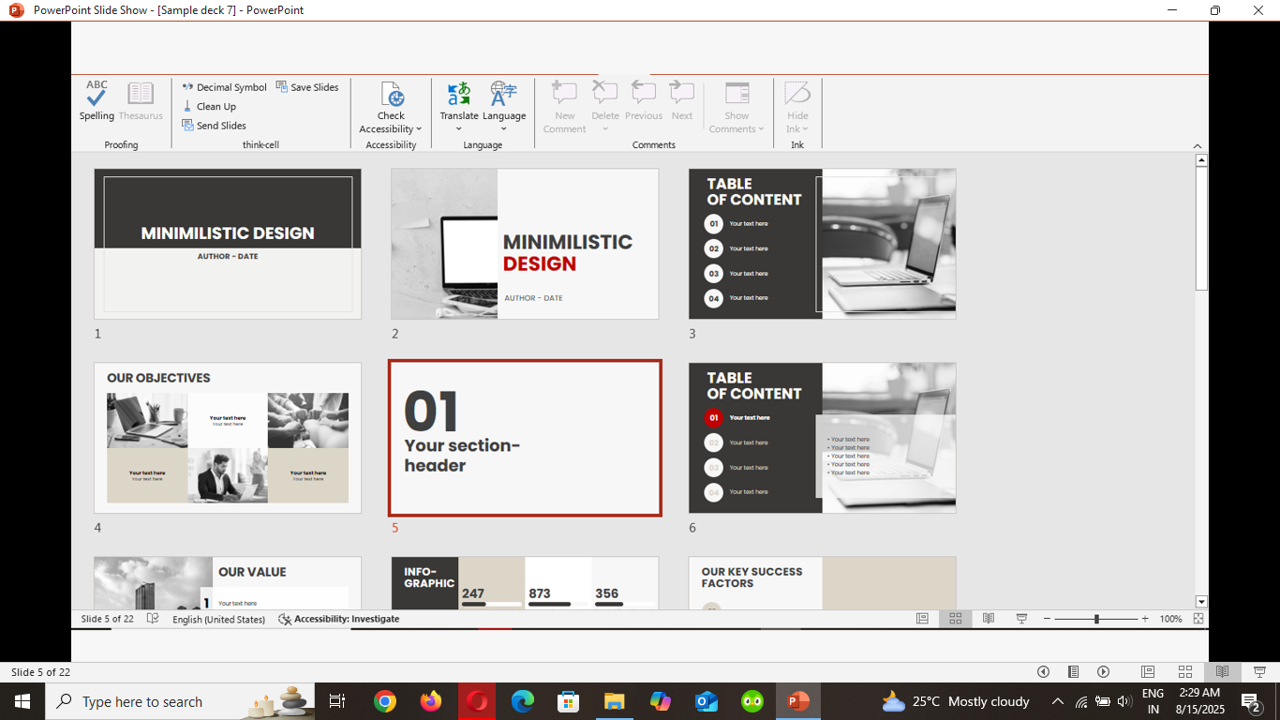
3. Reading View: A Clean Preview
reading view
Best for: Previewing how your presentation will appear.
Reading View shows the presentation in full-screen mode with navigation buttons but without entering full presentation mode. It’s great for checking animations and layout before going live.
Key Tips: – Use this view to catch alignment issues or animation errors. – Doesn’t require a second screen, unlike Presenter View.
Reading View is particularly useful if you’re sending your presentation to clients or colleagues for review. It gives them a realistic playback experience without forcing them into Slide Show mode. This is ideal for online collaboration or when you want feedback on the flow and pacing.
💡 Want to make your slides more dynamic? Learn How to Embed Videos and GIFs in PowerPoint.
4. Slide Show View: Present Like a Pro

slideshow view
Best for: Delivering your presentation.
Slide Show View is the full-screen mode where your presentation is shown to your audience. It’s ideal for final delivery, and this is where all animations and transitions come to life.
Key Tips: – Practice using a clicker or keyboard shortcuts. – Hide unused or backup slides to maintain a clean flow.
When using Slide Show View, always test your setup in the actual presentation environment—whether that’s a meeting room projector, a Zoom screen share, or a large LED display. This ensures that fonts, colors, and animations display correctly.
🎯 Explore our free PowerPoint templates to build professional-looking presentations faster.
5. Outline View: Focus on Your Message
Best for: Structuring content and messaging.
Outline View displays your slide text in a linear outline format. It’s perfect for focusing on content rather than visuals, making it useful in the early stages of presentation planning.
Key Tips: – Quickly spot inconsistencies or missing points. – Great for editing text-heavy slides or collaborative review.
Many professionals use Outline View as a content-first approach—writing the message before worrying about design. This helps keep presentations story-driven, which is essential for audience engagement.
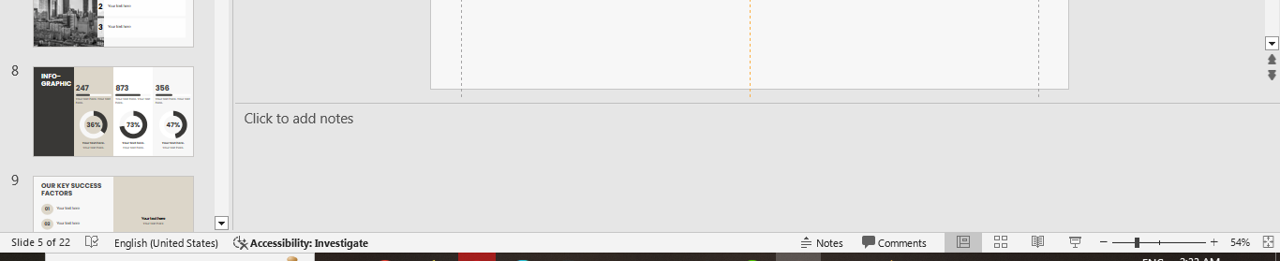
6. Notes Page View: Boost Your Speaker Support
notes
Best for: Preparing detailed speaker notes.
This view allows you to see each slide along with its associated notes, which is ideal when printing handouts or preparing for speaker-driven sessions.
Key Tips: – Format notes with bullet points for easier readability. – Use visuals sparingly in notes to maintain clarity.
Notes Page View is especially useful if you’re conducting webinars or training sessions. You can keep detailed talking points, examples, and even audience interaction prompts in the notes without cluttering your actual slides.
Final Thoughts
Choosing the right PowerPoint view at the right stage of your workflow can drastically improve your productivity and presentation quality. Whether you’re designing slides, prepping content, or rehearsing delivery, use these views as part of your creative process.
✨ Ready to enhance your decks even more? Visit our Free PowerPoint Templates page to download professional slides that match your message.
For more helpful tips, explore related blogs: – The Art of Storytelling in PowerPoint Presentations – Mastering PowerPoint Presenter View: Tips for Seamless Presentations


