

PowerPoint tools can enhance your presentation which can also be used to create creative diagrams and graphics. Mastering PowerPoint tools helps improve efficiency and design quality. Whether you’re creating a business pitch or an educational presentation, these tools save time and add a professional touch to your slides. The following five tools are essential building blocks for any visually impactful presentation.
1. Arrange tool
Alignment is arrangement of things in a straight line or in correct relative positions.
To align different texts, shapes or other elements in a power-point slide templates, go to home and in Drawing bar, select Arrange.
powerpoint alignment
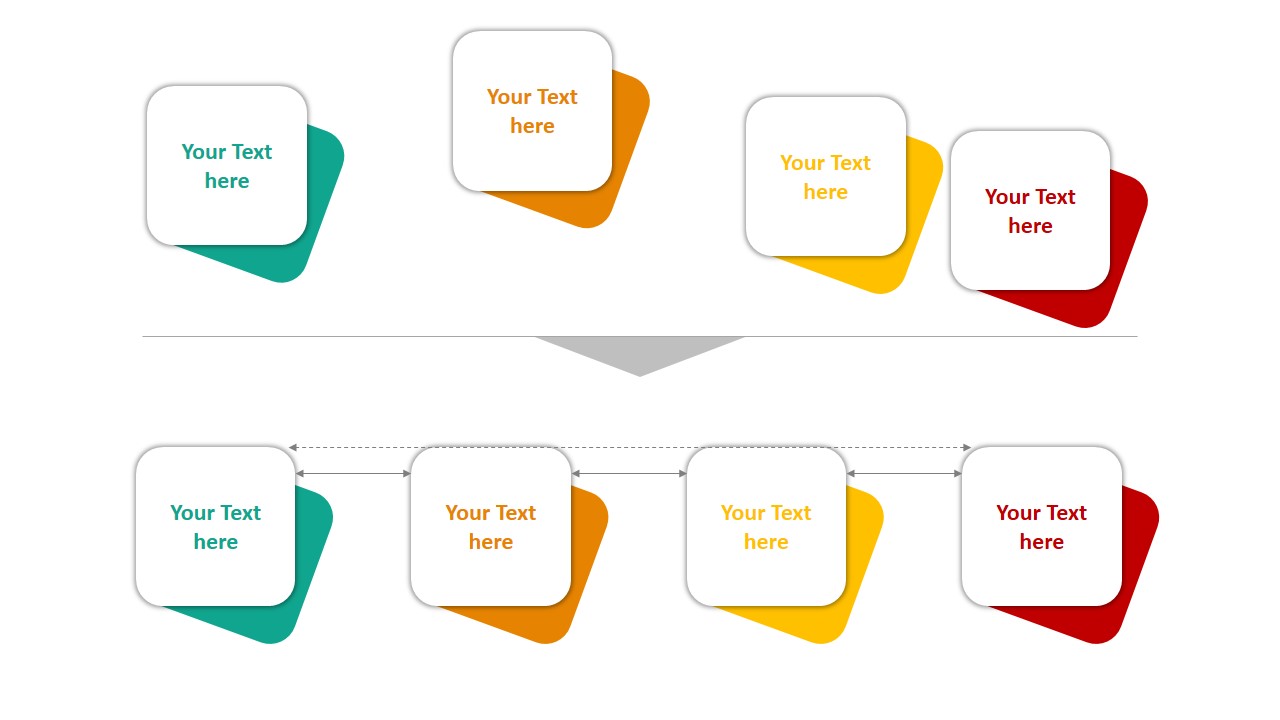
Depending upon the needs, you can align objects left, right, top or bottom, just like in the example, all the elements are aligned top. Second useful tool in Alignment is “distribution” , you can distribute objects horizontally or vertically (in example all elements are arranged horizontally to equally cover the space and that makes a big difference. Horizontal and vertical distribution can also be used simultaneously. Using “Align” and “Distribute” functions ensures uniformity and reduces visual clutter. This is particularly useful when working with timelines, charts, or multi-step processes. You can also use the Selection Pane to layer and reorder objects more precisely. For complex layouts, grouping elements before alignment ensures consistent spacing. Learn more about shape arrangement in this diagram creation blog.
2. Format painter
Its an other very useful tool when u have to make different elements similar to each and other and so don’t have to repeat settings for all.
powerpoint format painter
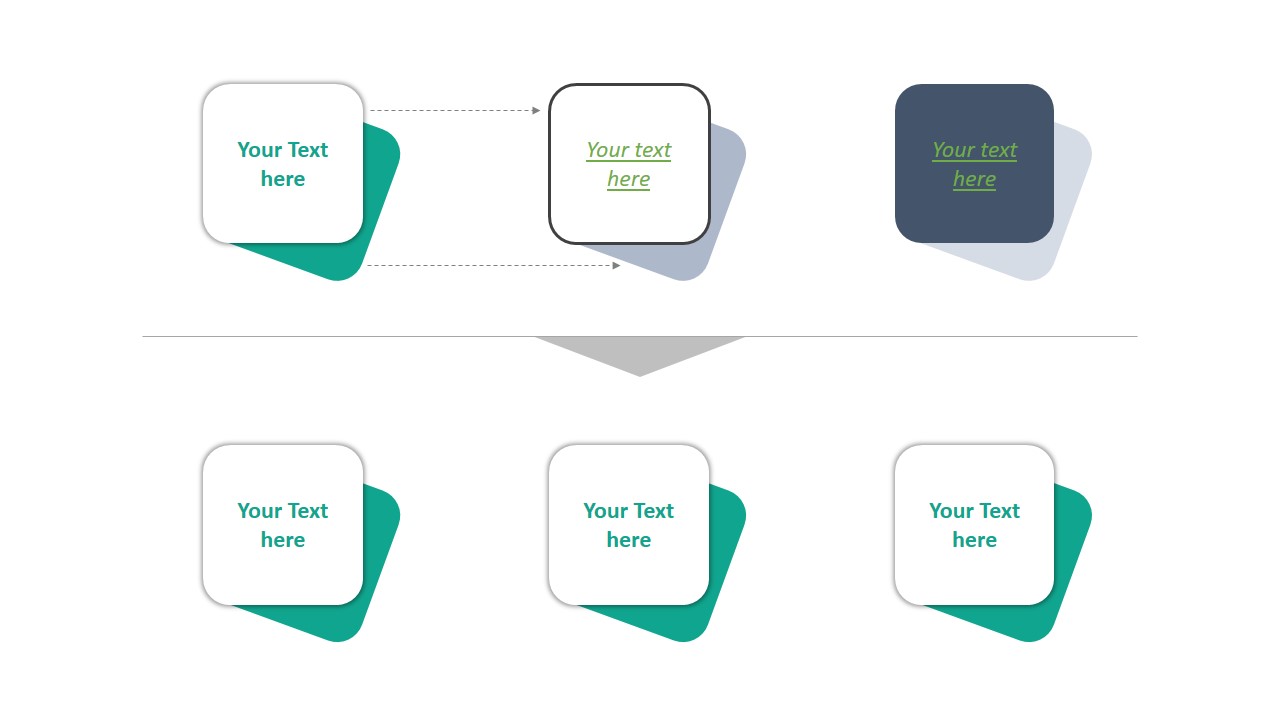
To use format painter, first of all select the shape or text you want other to look like. Then in home menu select format painter and then select the second shape/text you want to change. You can also double press the format painter to use it multiply. This tool not only replicates font and color styles but also copies border, fill, and shadow effects. For large slide decks, using format painter saves time and maintains consistent styling across all elements. Remember to use it early in the formatting stage to avoid inconsistencies later. It’s ideal when applying brand guidelines or matching your design with a pre-defined template.
3. Shape effects PowerPoint tools
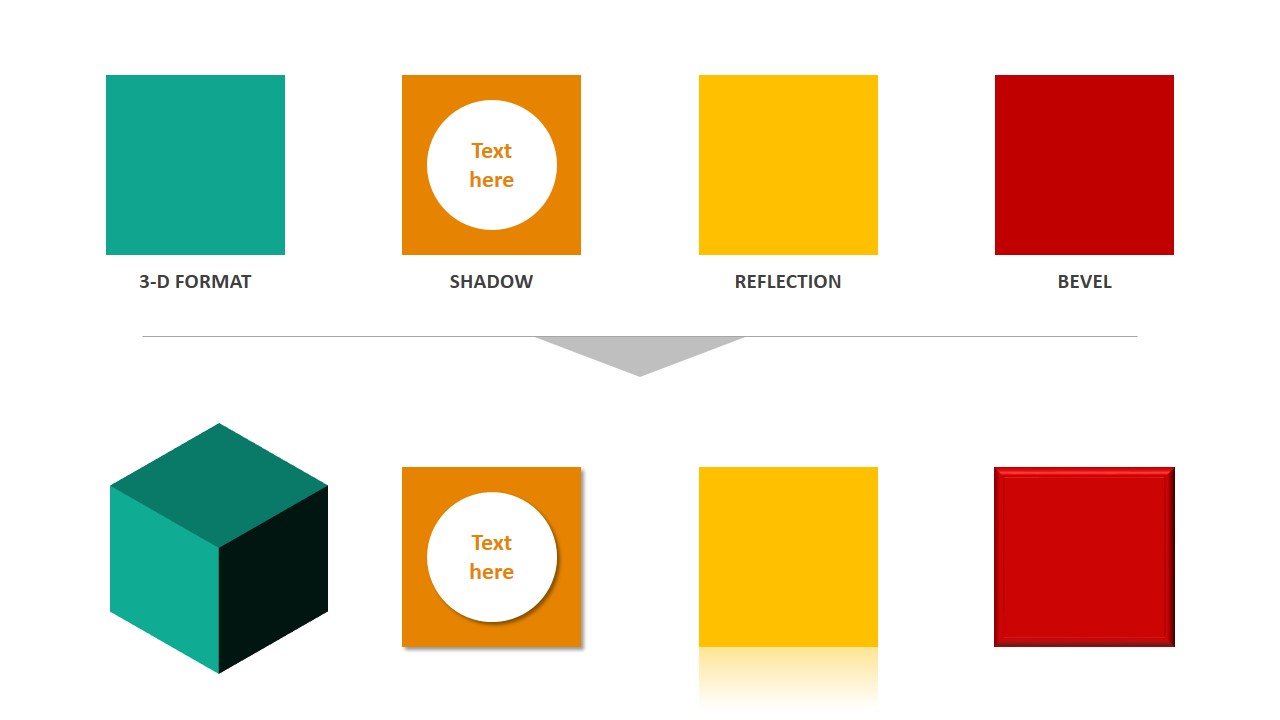
These are very interesting PowerPoint tools to use in ppt template design. You can play with different effects to be used on shapes such as shadows, reflections, giving it a bevel and even changing a shape or object to 3D .
powerpoint effects
To use this tool, select the shape you want to edit and under format tab select shape effects. In the image you can see how it transform by using different effects. You can also change the intensity of the effect by increasing or decreasing the values by clicking arrow in the bottom right of shape style menu bar. Shape effects can help emphasize key elements in your slides. For example, using shadows behind callouts can make them pop out, while bevels can give a tactile, modern look. Keep effects subtle to maintain a clean design. Too many effects can overwhelm the viewer and reduce clarity. This feature is especially useful in creative slide layouts.
4. Text effects PowerPoint tools
Just like shapes, you can also give effects to texts in powerpoint slide templates. To do so, select the text you want to change and then select format tool, under “WordArt Styles” select Text effects and give it the required effect such as rotation of text according to shape or giving it a shadow or other 3d effects.
powerpoint text rotation
Use these effects to match the tone and theme of your presentation. For example, soft shadows and reflections work well in professional slides, while bold outlines or rotations might suit creative or educational decks. When using text effects, always test legibility on various screen sizes. Avoid using too many effects on body text—reserve them for headers or key points.
5. Merge tool
This is a very handful tool to create different types of shapes and diagrams in ppt template design. To use this PowerPoint tools select at least 2 shapes and then select “Format menu”. On the right under “insert shapes” select “Merge Shapes”. You can then select how you want the shapes to change such as Union, combine, intersect, fragment or Subtract.
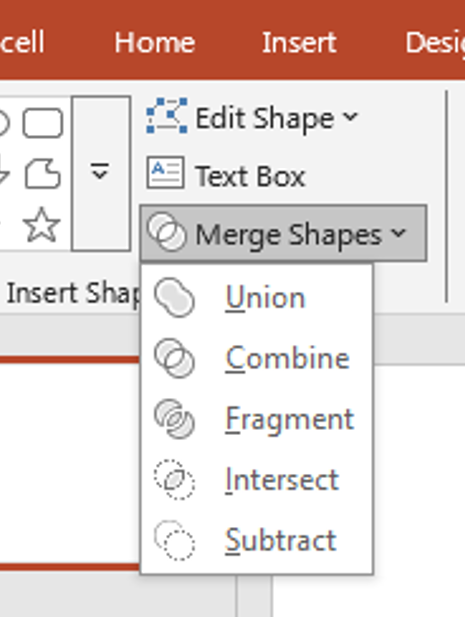
merge tool
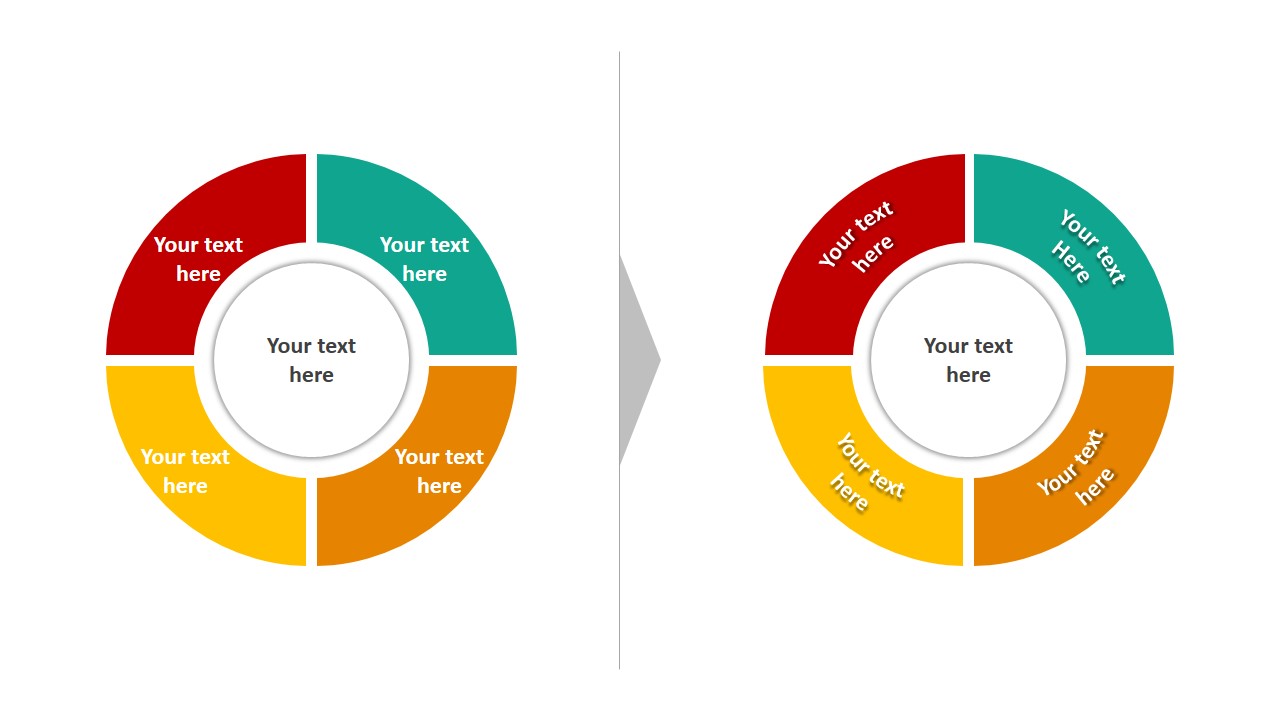
In the example, we have used 3 circles and then used fragment PowerPoint tools to create different parts of it where they are intersecting with each other and use them differently. You can delete unwanted part if needed.
Please note that the properties of all shapes change to the first shape you selected when using merge tool. For more blogs, please visit our blogs page. The merge tool is especially powerful when creating custom icons, unique layouts, or infographic-style visuals. Use “Fragment” to break complex shapes into editable parts, allowing you to color-code or animate sections independently. Always copy your original shapes before merging, as the operation is destructive and can’t be undone once saved. For advanced design inspiration, visit our free download page.


