

Creating a professional PowerPoint presentation goes beyond just adding slides and text. To ensure consistency in design, fonts, colors, and layouts throughout your presentation, you need to use PowerPoint’s Slide Master. This powerful tool helps streamline your design process, saving time and enhancing the overall appearance of your slides.
In this guide, we’ll explore what Slide Master is, how to use it, and best practices to make your presentations look polished and cohesive.
slidemaster
What is Slide Master in PowerPoint?
The Slide Master is a feature in PowerPoint that controls the overall design and formatting of your presentation. It acts as a template that applies consistent styles, fonts, colors, and elements to all your slides.
Why Use Slide Master?
✅ Ensures a consistent look throughout your presentation.
✅ Saves time by applying changes to all slides at once.
✅ Prevents manual formatting errors.
✅ Allows customization of layouts, fonts, and placeholders.
✅ Enhances branding by integrating company logos, colors, and typography.
🎯 Especially useful for team-based or recurring presentations where multiple contributors are working on a deck. Slide Master ensures uniformity across all collaborators’ slides.
How to Access and Use Slide Master
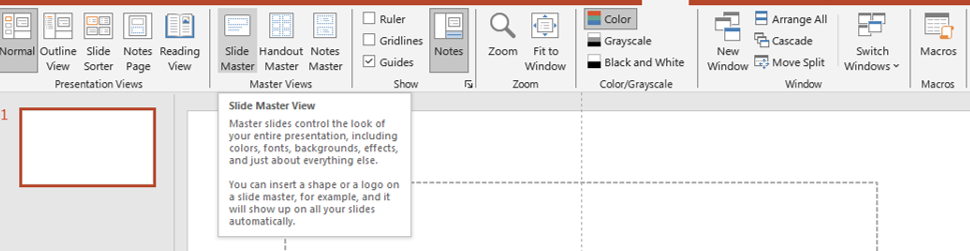
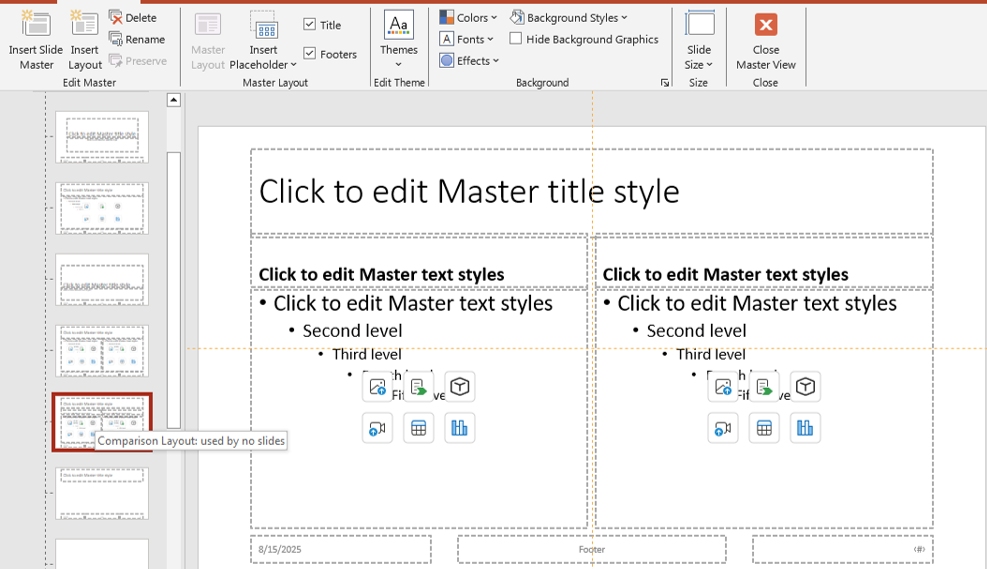
Step 1: Open Slide Master View
1️⃣ Open your PowerPoint presentation.
2️⃣ Click on the View tab in the Ribbon.
3️⃣ Select Slide Master.
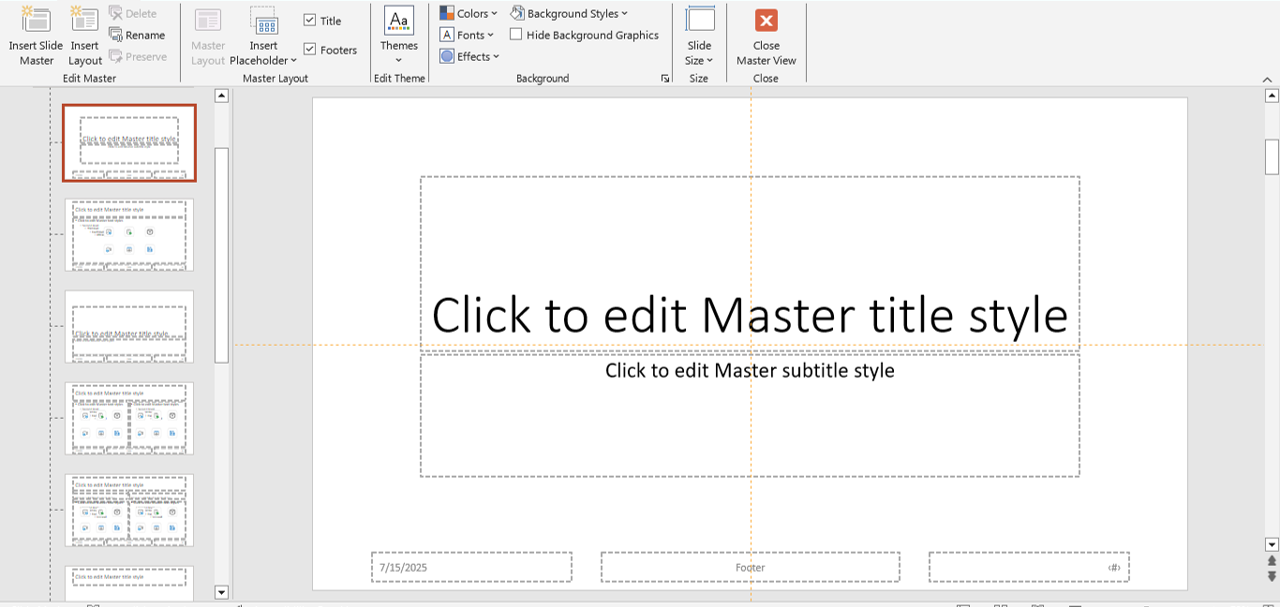
4️⃣ The Master Slide appears at the top, followed by individual layout slides below it.
slidemaster
Step 2: Customize the Slide Master
Once inside the Slide Master View, you can make various modifications:
🔹 Change Background and Colors:
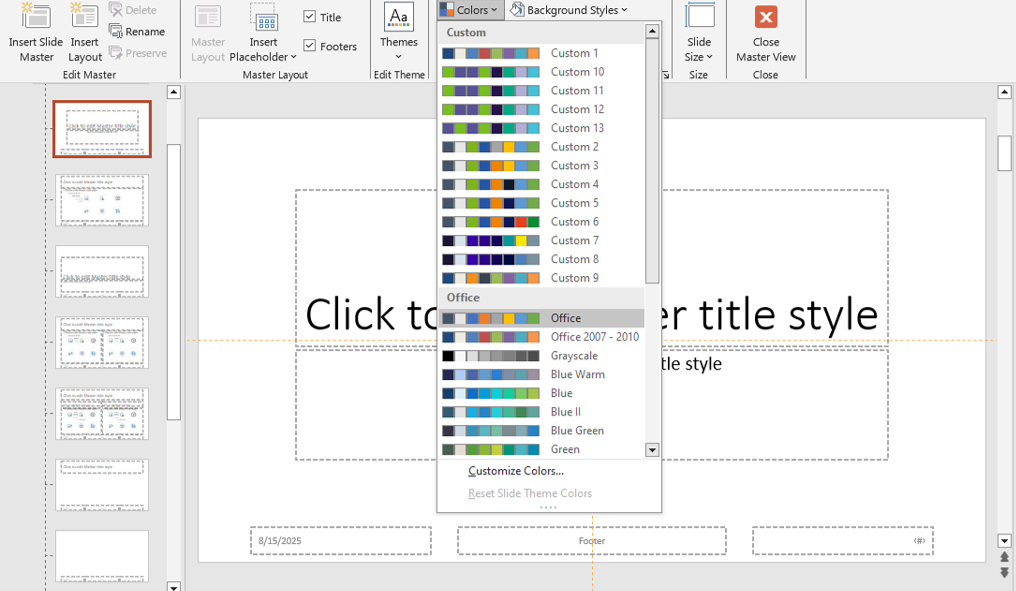
- Go to Background Styles and choose a color or gradient.
- Use the Colors dropdown to apply a theme color.
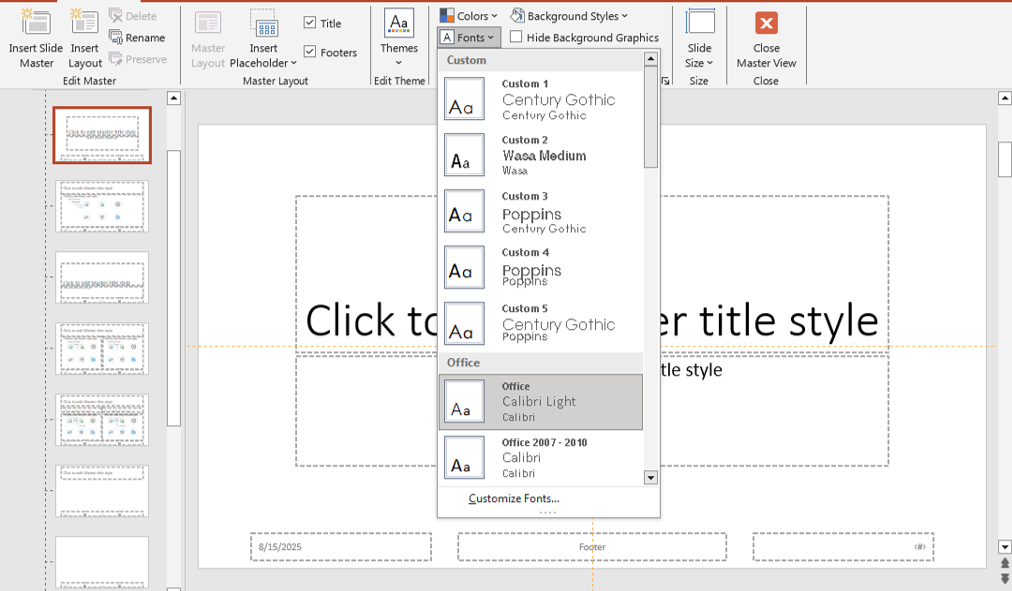
🔹 Modify Fonts and Text Styles:
- Click on the Master Slide, then update the font style, size, and color.
- These changes will apply to all slides using this master.
🔹 Insert Logos and Branding Elements:
- Add a company logo or watermark to the Master Slide.
- Position it in a consistent place, ensuring it doesn’t interfere with content.
🔹 Adjust Placeholder Layouts:
- Resize or reposition text boxes, image placeholders, and footers.
- Remove unnecessary placeholders for a cleaner layout.
📌 Pro Tip: Avoid overloading the Slide Master with too many design elements. Keep it clean and professional.
📌 Bonus Tip: Use the “Rename Layout” option to clearly label your custom slide types (e.g., “Team Intro,” “Project Timeline”), making it easier for team members to select the right format during content creation.
Step 3: Create Custom Layouts
PowerPoint allows you to design multiple layouts within the Slide Master View:
1️⃣ Click on Insert Layout to add a new layout.
2️⃣ Modify text and image placeholders as needed.
3️⃣ Rename the layout for easy identification.
4️⃣ Exit Slide Master View by clicking Close Master View.
Now, when you add a new slide in Normal View, you can select from your custom layouts under the Layout dropdown.
✨ Want to use a ready-made base? You can explore editable presentation templates that come with pre-built Slide Master layouts at SlideMasterz Free Templates. These save you hours of design time while ensuring branding and structure.
Best Practices for Using Slide Master
✔️ Use a Consistent Font & Color Scheme – Choose a professional color palette and font style that align with your brand.
✔️ Limit the Number of Layouts – Too many layouts can be overwhelming. Stick to essential ones like title slides, content slides, and image-based layouts.
✔️ Test Before Finalizing – Check your slides in Normal View to ensure elements appear correctly.
✔️ Save as a Template – If you frequently use a certain design, save it as a PowerPoint Template (.potx) for future use.
✔️ Use Placeholder Text – Instead of manually inserting text boxes, use placeholders for consistent spacing.
✔️ Maintain Responsive Design – Ensure your Slide Master layout is optimized for different screen ratios like 4:3 and 16:9. This helps preserve formatting when presenting on different projectors or screens.
Final Thoughts
Mastering PowerPoint’s Slide Master can significantly elevate the quality of your presentations. By applying consistent branding, layout, and formatting, you not only save time but also create a polished, professional, and visually appealing presentation that stands out.
🎁 Need inspiration or a head start? Download professionally designed free templates with pre-configured Slide Master elements from SlideMasterz.
🚀 Try using Slide Master in your next PowerPoint and experience the difference!


