

Shapes are one of the most versatile and powerful tools in PowerPoint. From creating visual diagrams to enhancing slide layouts and adding creative flair, mastering shapes can significantly elevate the look and clarity of your presentations. In this beginner-friendly guide, we’ll walk you through everything you need to know to start using PowerPoint shapes like a pro.
Why Use Shapes in PowerPoint?
Shapes are more than just decorative elements. They help:
- Organize content visually
- Illustrate processes and relationships
- Create custom layouts
- Highlight key points
- Design infographics and diagrams
Shapes also improve accessibility when used with alt-text, helping screen readers describe the visual to visually impaired viewers. They can also be utilized as interactive buttons in kiosk-style presentations or linked to navigation elements such as hyperlinks between slides.
Getting Started with Shapes
Inserting a Shape
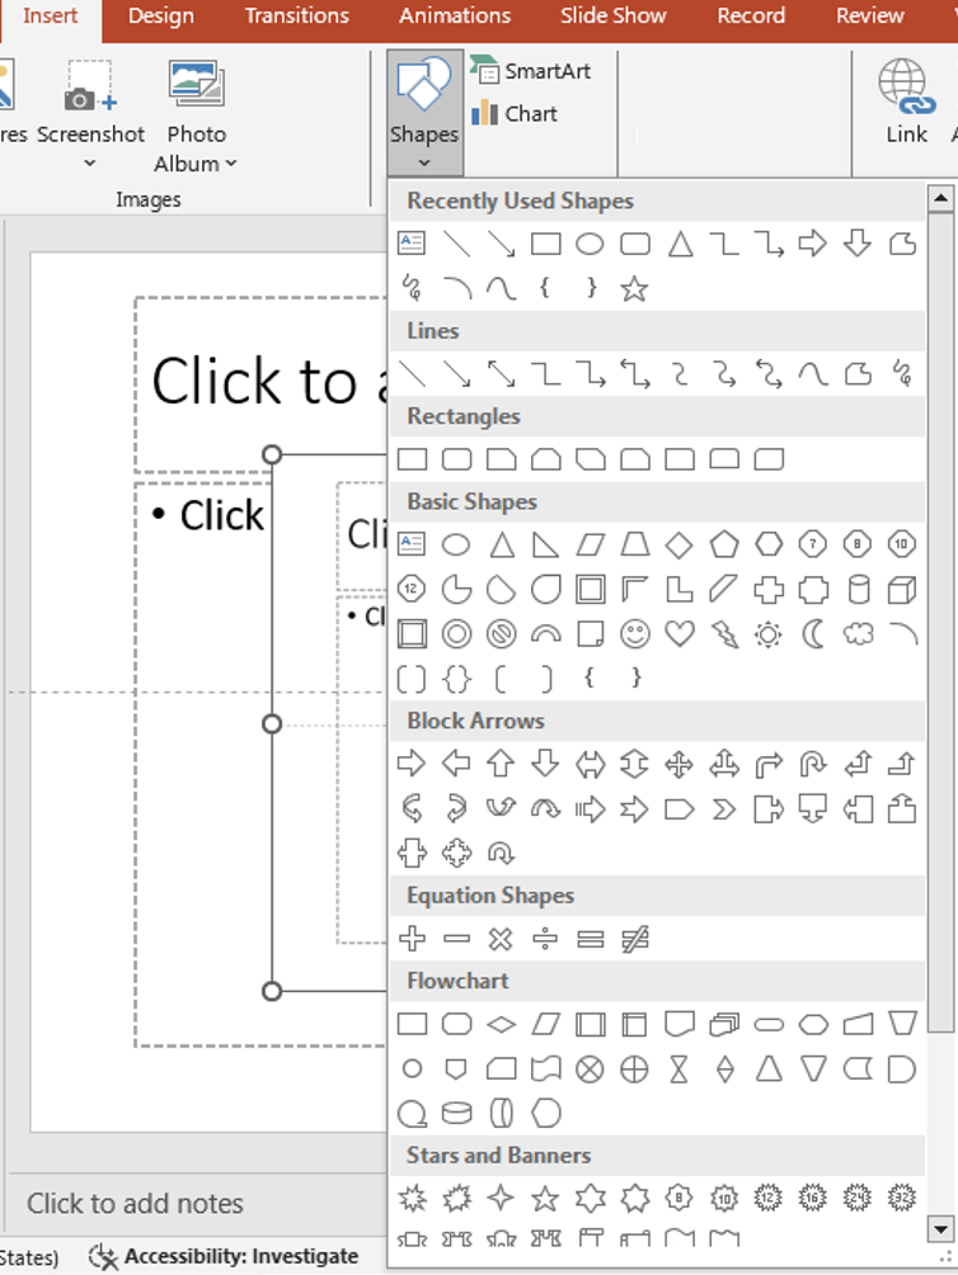
shapes
- Go to the Insert tab on the PowerPoint ribbon.
- Click on Shapes to open the shape library.
- Choose from categories like Lines, Rectangles, Basic Shapes, Block Arrows, Flowchart, Callouts, and Stars and Banners.
- Click and drag on the slide to draw the shape.
You can also right-click any shape category for quick access to your most recently used shapes. This is helpful when working on designs that require frequent repetition of specific visual elements.
Customizing Shapes
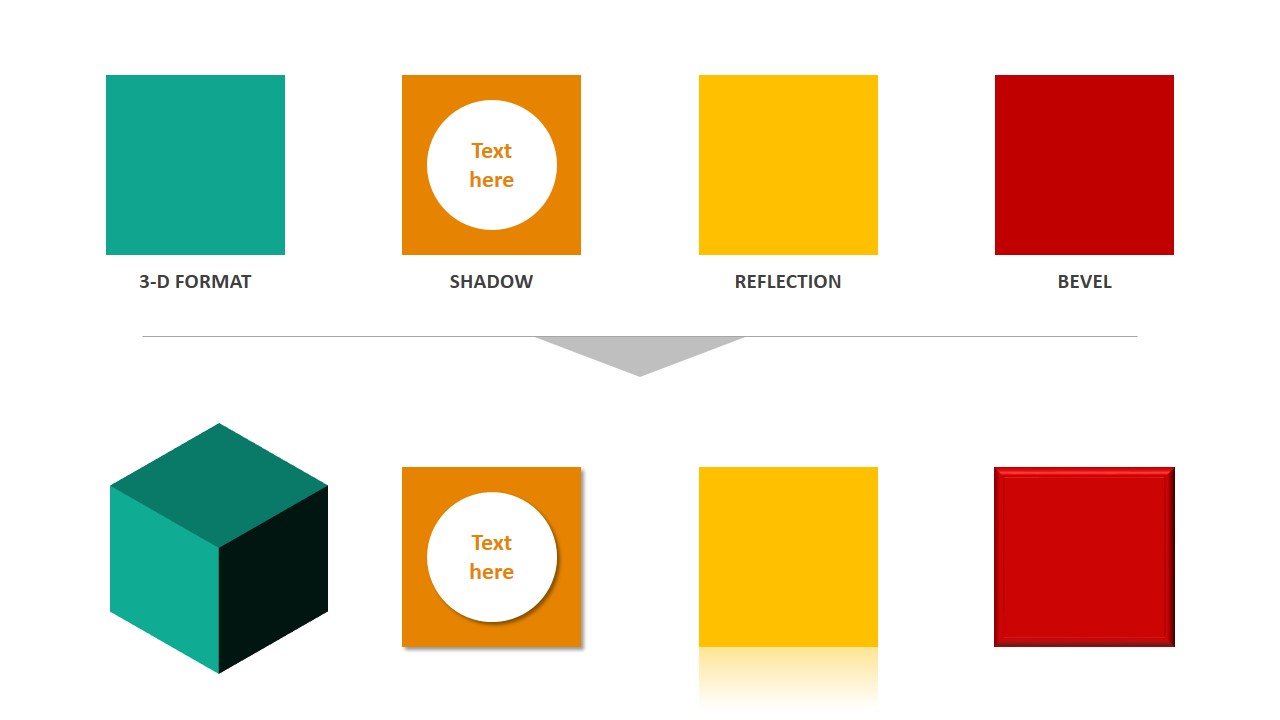
powerpoint effects
- Resize and Rotate
- Click on the shape and drag the corners to resize.
- Use the rotation handle at the top to rotate.
- Fill and Outline
- Select the shape and go to the Shape Format tab.
- Use Shape Fill to change the color, Shape Outline to adjust the border, and Shape Effects for shadows, glow, and more.
- Add Text Inside Shapes
- Right-click the shape and select Add Text.
- Type directly into the shape and format it like normal text.
- Align and Distribute
- Select multiple shapes by holding Shift while clicking.
- Use the Align tool under the Shape Format tab to align them to the left, right, center, etc.
- Use Distribute Horizontally/Vertically to space them evenly.
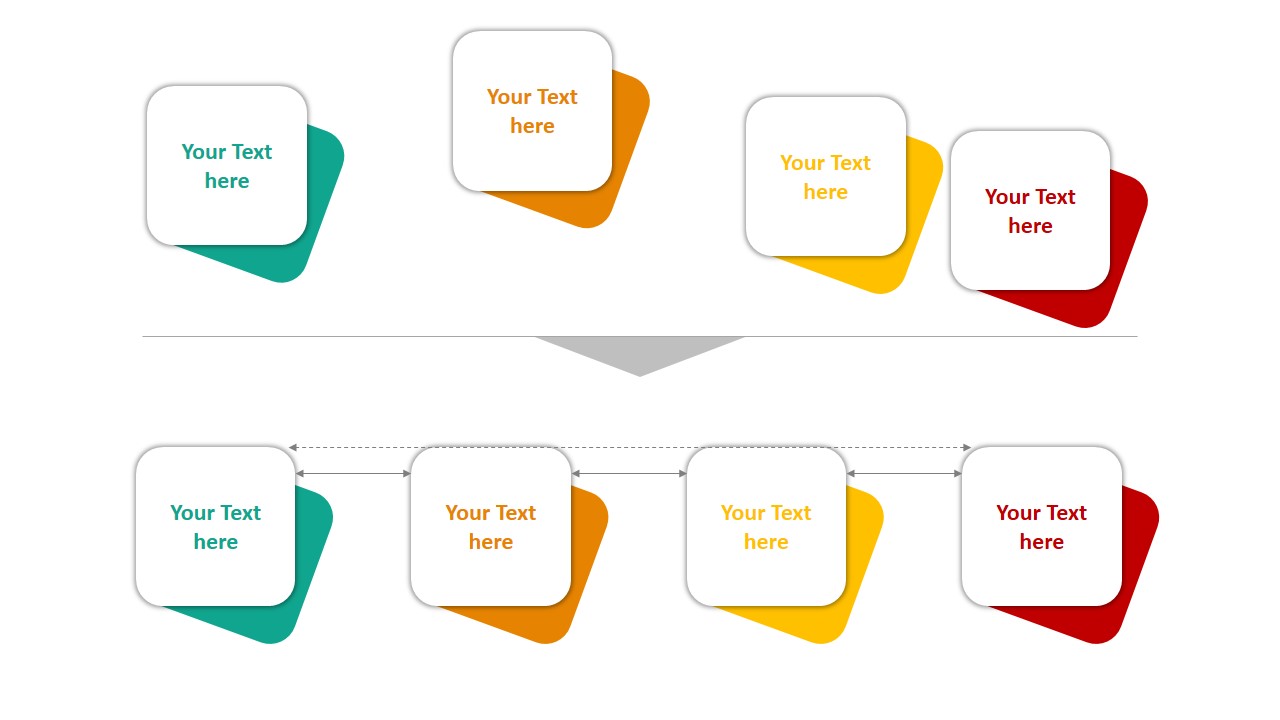
powerpoint alignment
To create a polished layout faster, use the Selection Pane (found under “Home > Arrange > Selection Pane”) to rename, reorder, and hide/unhide shapes. This is especially useful when working with complex diagrams or layered graphics.
Working with Multiple Shapes
Group and Ungroup
- Select multiple shapes, right-click, and choose Group to keep them together.
- To make changes individually, right-click and choose Ungroup.
Merge Shapes Tool
- Found under Shape Format > Merge Shapes.
- Lets you Combine, Union, Intersect, Subtract, and Fragment shapes to create custom designs.
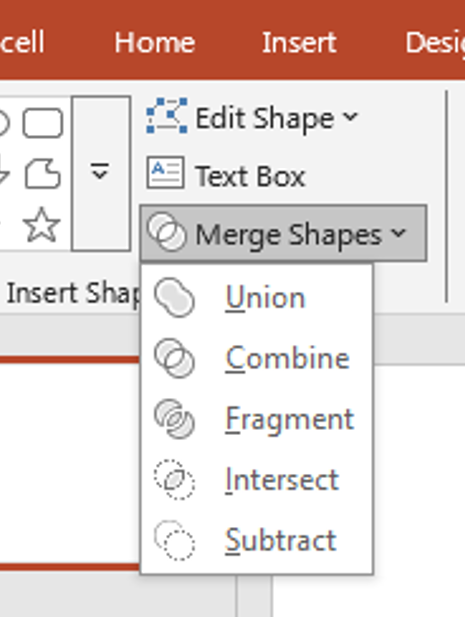
merge tool
For consistent branding, save merged shapes as reusable elements by right-clicking and choosing “Save as Picture.” You can import them later across other slides or presentations to maintain design consistency.
Smart Uses of Shapes
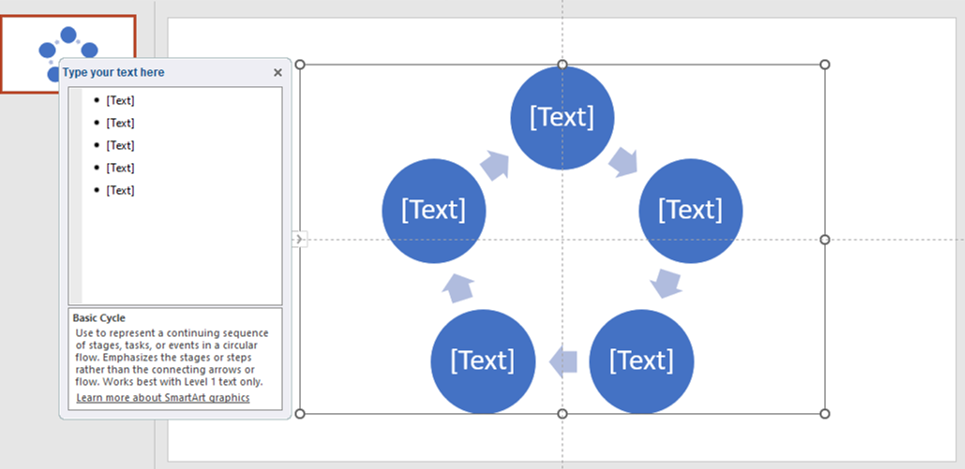
- Create Flowcharts and Diagrams: Use arrows and flowchart shapes to explain processes.
- Build Custom Icons: Combine simple shapes for a unique icon set.
- Design Layout Sections: Use rectangles or circles to define content areas.
- Make Image Frames: Layer shapes with images for creative borders.
You can also animate shapes individually or in groups for storytelling purposes. Try applying entrance or motion path effects to direct audience attention during complex explanations.
Pro Tips
- Hold Shift while drawing to keep shapes proportionate.
- Use Ctrl + D to quickly duplicate shapes.
- Use Ctrl + G to group and Ctrl + Shift + G to ungroup.
- Use Snap to Grid and Snap to Shape (found under View) for precise alignment.
Need to reuse a styled shape? Right-click and select “Set as Default Shape” so new shapes adopt the same formatting instantly, saving time across your deck.
Conclusion
PowerPoint shapes are more than basic visual elements—they’re the building blocks of stunning, clear, and professional presentations. By learning to insert, format, and combine shapes, even beginners can create designs that captivate and inform.
✨ Start exploring PowerPoint shapes today and unlock a new level of creative control over your presentations!


