

When you open PowerPoint, one of the most powerful tools at your disposal is the Insert Menu. It’s the gateway to transforming a blank slide into a compelling visual story. Whether you’re looking to add media, charts, shapes, or even entire slides from another presentation, mastering the Insert Menu will take your presentation skills to the next level.For beginners, this menu is often underestimated, but it’s essentially the “creative heart” of your slides. Learning how to navigate it efficiently can help you create professional presentations faster and with more impact. At SlideMasterz, we often recommend mastering the Insert Menu early because it dramatically improves both workflow and presentation quality.
In this blog, we’ll break down the key features of the Insert Menu and how to use them effectively.
Why the Insert Menu Matters
Think of the Insert Menu as your creative toolbox. It lets you enhance your slides with a variety of elements that make content easier to understand and more engaging. Instead of sticking with plain bullet points, the Insert Menu helps you:

- Visualize data with charts
- Illustrate concepts with images or icons
- Embed media like videos or audio
- Add design elements like SmartArt or Shapes
These features are not just for making slides “look pretty”—they’re about improving audience retention and message clarity. Research shows that presentations with a balanced mix of visuals and text have higher engagement rates.
Whether you’re creating a corporate deck, educational material, or a webinar presentation, the Insert Menu helps bring your ideas to life.
Key Features of the Insert Menu
1. Slides
You can insert a new slide or reuse slides from other presentations. Great for combining decks or continuing a template format.
Tip: Use the “Reuse Slides” feature to maintain design consistency across decks.
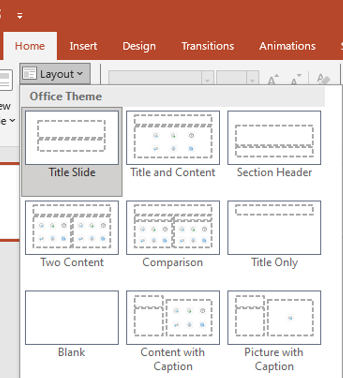
layouts
2. Tables
Easily insert tables to organize and present data clearly. You can adjust the number of rows and columns during insertion and customize them afterward. Tables are best for structured data comparisons—just remember to keep them clean and avoid overloading with text. Aligning columns and using alternating row colors can also improve readability.
3. Pictures & Online Pictures
Add images from your device or search online (using Bing). Use high-resolution visuals for clarity.
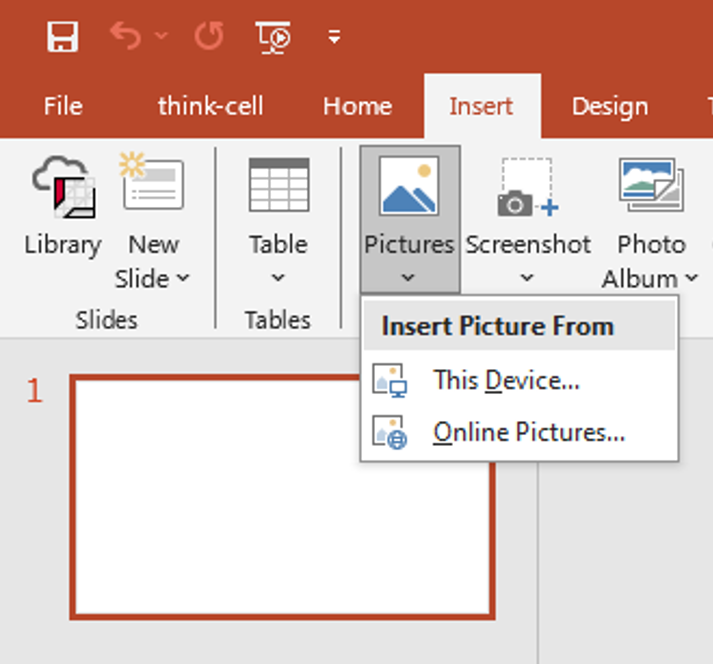
insert pic
Pro Tip: Compress images to reduce file size without sacrificing much quality. Always ensure your images are royalty-free or licensed for use to avoid copyright issues. For branded presentations, maintain consistent image styles to reinforce visual identity.
4. Icons & 3D Models
PowerPoint offers built-in icon libraries and 3D models that are especially helpful for modern, sleek presentations.
Blog Suggestion: Creating Custom Icons with PowerPoint Shapes → Learn how to make your own icons using shapes!
Icons are especially useful for simplifying complex information into easy-to-digest visuals. 3D models, on the other hand, can add interactivity and depth—ideal for product demos or educational presentations.
5. SmartArt
Transform plain text into engaging visuals. Perfect for processes, hierarchies, and relationship diagrams.
Explore more on this in our blog: A Guide to PowerPoint’s SmartArt
SmartArt is most effective when paired with concise text. Too many words will make even the best diagram feel cluttered. Use it to break down steps, illustrate relationships, or highlight key stages in a process.
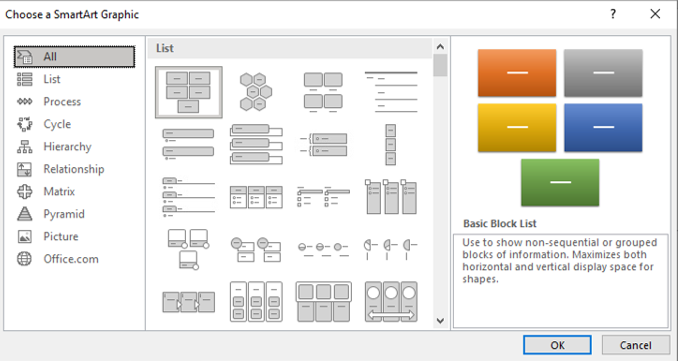
smart art
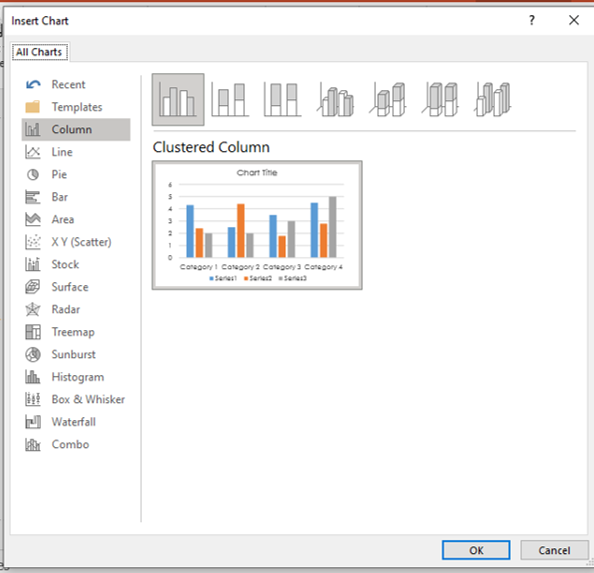
6. Chart
From bar graphs to pie charts, insert visual data representations. It links with Excel so you can edit your data directly. Always choose a chart type that matches your message—bar charts for comparisons, line charts for trends, pie charts for proportions. Keep colors consistent with your presentation’s palette.
 7. Links
 7. Links
You can link to other slides, documents, or websites. Great for interactive presentations. Linking can also be used for non-linear navigation—perfect for creating interactive training modules or choose-your-own-path style presentations.
8. Text Box, Header & Footer
Customize your slides by inserting text boxes or adding consistent footers and headers. Headers and footers are valuable for adding branding, page numbers, or confidential notices, especially in corporate settings.
9. Video and Audio
You can insert video or audio files directly into your slides. Great for tutorials, interviews, or case study presentations.
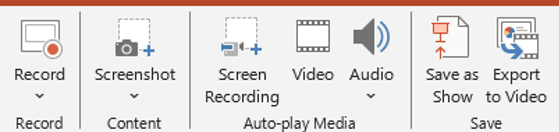
record
Try This: Learn more about adding videos with our guide: How to Embed Videos and GIFs in PowerPoint
Always test your media files on the presentation device beforehand to avoid playback errors. For remote presentations, embed media rather than linking to avoid broken paths.
10. Comments
Collaborating on a deck? Use Comments to add feedback or suggestions directly on slides. Commenting is especially useful in team environments where multiple reviewers are involved. It helps keep feedback organized and prevents version control issues.
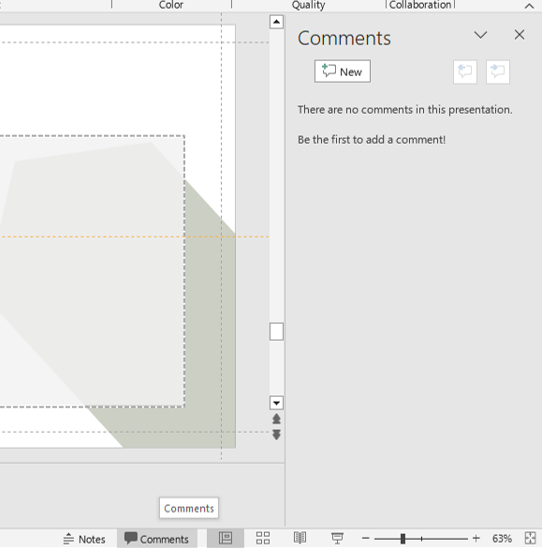
comments
Best Practices When Using the Insert Menu
- Keep it balanced: Avoid cluttering your slides with too many elements.
- Use icons over photos when simplicity is needed.
- Test media before presenting to avoid playback issues.
- Stick to a visual theme for a polished look.
Need a ready-to-use base for your presentations? Check out our Free PowerPoint Templates for beautifully designed layouts.
Final Thoughts
Mastering the Insert Menu in PowerPoint opens up countless creative possibilities. By learning what each tool does and how it enhances your slide, you can design presentations that are both visually appealing and highly effective.
Want more PowerPoint tips? Explore these blogs:
– The Do’s and Don’ts of Adding Animations in PowerPoint
– How to Make Your PowerPoint Slides More Engaging
– PowerPoint Views Explained: Which One to Use and When
Stay tuned for more step-by-step tutorials and design tips here on SlideMasterz!


