

Shapes in PowerPoint are more than just basic rectangles and circles—they’re versatile design elements that, when styled correctly, can completely transform the look of your slides. Whether you’re creating callouts, icons, infographics, or custom layouts, shape formatting is a game-changer.
Many professional designers treat PowerPoint shapes as “building blocks” for their entire slide design, creating custom illustrations, branded graphics, and layered effects without relying on external image files. This makes your presentation more editable, scalable, and lightweight, ensuring faster performance during delivery.
In this blog, we’ll explore how to use shadows, gradients, and effects to elevate the visual impact of your PowerPoint shapes.
Why Shape Formatting Matters
- Visual Appeal: Shapes with stylish formatting are more engaging and professional
- Focus and Emphasis: Effects help guide attention to key points
- Branding: Consistent use of gradients and shadows can reinforce brand identity
- Depth and Dimension: Effects add realism and break away from flat, boring designs
Think of shape formatting as part of your brand’s visual language. Just like fonts and colors, consistent shape styles contribute to a polished, cohesive presentation that leaves a lasting impression on your audience.
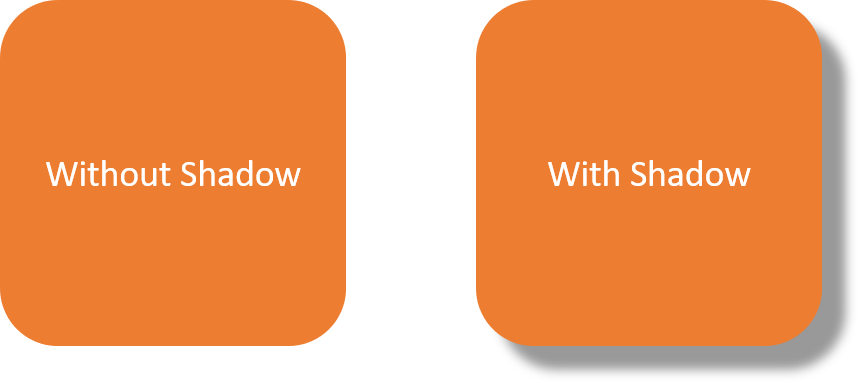
- Adding Shadows to Shapes
Shadows create depth and make your elements pop off the slide.
How to Add a Shadow:
- Select the shape
- Go to Shape Format > Shape Effects > Shadow
- Choose from Outer, Inner, or Perspective shadows
 Pro Tip:
Use soft, subtle shadows for a modern, clean look. Avoid harsh or unrealistic shadows that distract from your message. If you’re designing shapes as part of a template or reusable layout, use the Slide Master to ensure your shadow settings are applied consistently across all slides. Learn how to customize your Slide Master here.
A quick way to ensure shadows look natural is to match their angle and transparency with other design elements in the slide. For example, if an image or icon has a drop shadow cast at 45°, your shapes should follow the same direction for a unified visual effect.
- Using Gradients for Stylish Fills
Gradients create a smooth transition between colors and add visual interest.
How to Apply a Gradient Fill:
- Select the shape
- Right-click > Format Shape
- Under Fill, choose Gradient Fill
- Customize colors, direction, and transparency

gradient
Popular Gradient Ideas:
- Linear gradients for buttons or banners
- Radial gradients for spotlight effects
- Brand color gradients for cohesive design
Try using transparent gradient overlays on images or backgrounds. This trick helps maintain readability while preserving a vibrant visual design. You can also experiment with multiple gradient stops to create unique blends that match seasonal campaigns, special events, or thematic slides. For example, a subtle blue-to-white-to-transparent gradient can simulate a sky effect, while warm tones can create a more inviting, energetic vibe.
- Enhancing Shapes with Effects
Beyond shadows and gradients, PowerPoint offers a variety of effects:
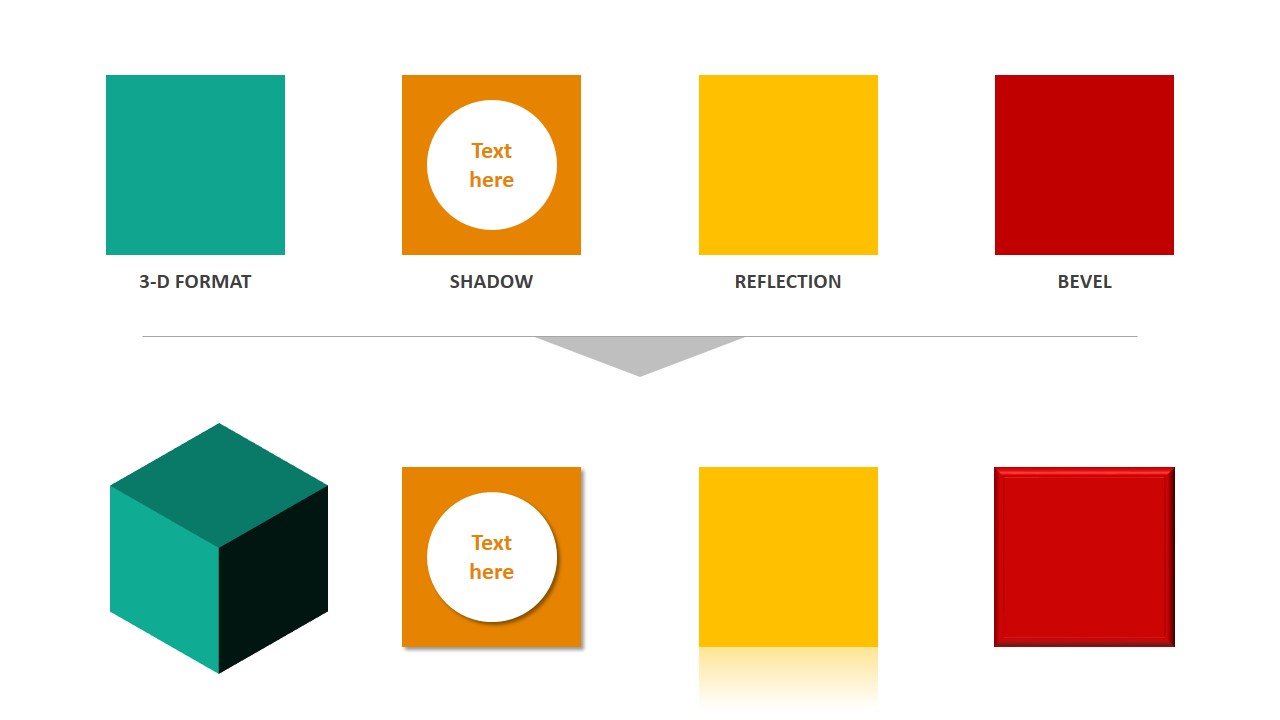
Available Effects:
- Reflection: Creates a mirror-like look
- Glow: Adds a soft halo around shapes
- Soft Edges: Blurs the edges for a subtle fade
- 3-D Format & Rotation: Adds depth and angle for a 3D appearance
How to Apply:
- Select shape > Shape Effects in the Format tab
- Choose your desired effect and customize it
Effects like Soft Edges work best for background elements, while Glow can make key points stand out during live presentations. The 3D Rotation tool is particularly effective for creating realistic mockups, such as turning a rectangle into a tilted “screen” for product showcases.
Best Practices for Shape Formatting
- Keep it consistent across your slides
- Don’t overuse effects—too many can overwhelm your design
- Test your presentation in Slideshow mode to see how effects appear live
- Use the Eyedropper Tool to match gradient colors with your theme
To maintain a clean layout, consider using PowerPoint’s grid and guides feature. This helps in placing shapes precisely, especially when working with multiple formatted elements. If you’re working on collaborative projects, save your shape styles as part of a custom theme. This way, every team member can apply the same formatting instantly, maintaining brand consistency across different presentations.
free powerpoint templates
Creative Ways to Use Shape Effects
- Callout boxes with soft shadows for emphasis
- Background elements using large, faint gradient shapes
- Data highlights with glow or gradient-filled shapes
- Title designs using 3D or beveled shapes
Want to build your own set of icons or infographics using just PowerPoint shapes? Explore our guide on designing custom icons using shapes — perfect for maintaining consistency and originality. Layering multiple shapes with varying transparency levels can create dynamic, magazine-style layouts directly in PowerPoint. This is a cost-effective way to achieve high-end designs without using external graphic software.
Final Thoughts
Mastering shape formatting in PowerPoint allows you to create visually striking and professional-looking slides. With just a few tweaks using shadows, gradients, and effects, you can turn simple shapes into design assets that elevate your entire presentation.
🎨 Experiment with these features and discover how powerful PowerPoint shapes can truly be!
If you’re looking to level up your slide visuals with drag-and-drop-ready designs, download our free editable PowerPoint templates and start designing like a pro.


