

PowerPoint is a powerful tool, but many users only scratch the surface of what it can do. If you find yourself spending too much time creating slides, it’s time to discover these hidden PowerPoint features that can significantly boost your productivity. Here are 10 lesser-known yet incredibly useful PowerPoint Tips that will save you hours of work.
1. Reuse Slides from Other Presentations
Instead of manually copying slides from previous presentations, use the Reuse Slides feature.
- Go to Home > New Slide > Reuse Slides
- Browse for the presentation file and select the slides you want to import This ensures consistency and saves time when creating presentations with similar content.
Reusing slides is especially helpful when you’re creating presentations for recurring meetings or topics with overlapping content. It not only maintains design consistency but also ensures you don’t accidentally leave out important points. If your previous slides are well-formatted using a Slide Master, the formatting will also carry over, making your workflow even smoother. This feature is invaluable when working with team templates or collaborating across departments.
2. Quickly Align and Distribute Objects
Manually aligning shapes, text boxes, and images can be time-consuming. Instead, let PowerPoint do the work for you:
- Select multiple objects
- Go to Shape Format > Align
- Choose Align Left/Center/Right/Top/Middle/Bottom or Distribute Horizontally/Vertically This feature ensures perfect alignment in just a few clicks.
Accurate alignment creates a cleaner, more professional look and helps guide the viewer’s eye naturally across the slide. Using PowerPoint’s built-in guides and gridlines alongside the Align tool makes the process even more intuitive. You can also turn on Snap to Grid from the “View” tab for pixel-perfect positioning, especially useful in detailed layouts or infographic-style presentations.
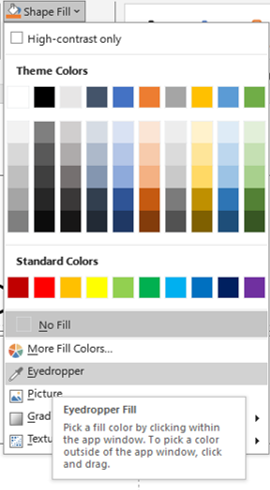
3. Use the Eyedropper Tool for Precise Color Matching
Next in PowerPoint Tips is matching colors manually can be frustrating, but PowerPoint’s Eyedropper tool makes it easy:

eye dropper
Click on an object’s Fill Color or Text Color
- Select Eyedropper and hover over any color on your slide or screen
- Click to apply the exact color instantly This is great for branding consistency and design aesthetics.
This tool becomes even more powerful when working with external branding materials like logos, web pages, or company brochures. Instead of guessing the exact color code, use Eyedropper to instantly match it. This not only speeds up the process but also ensures every visual element stays on-brand across all slides. For more tips on consistent formatting, explore our guide on Formatting Text in PowerPoint.
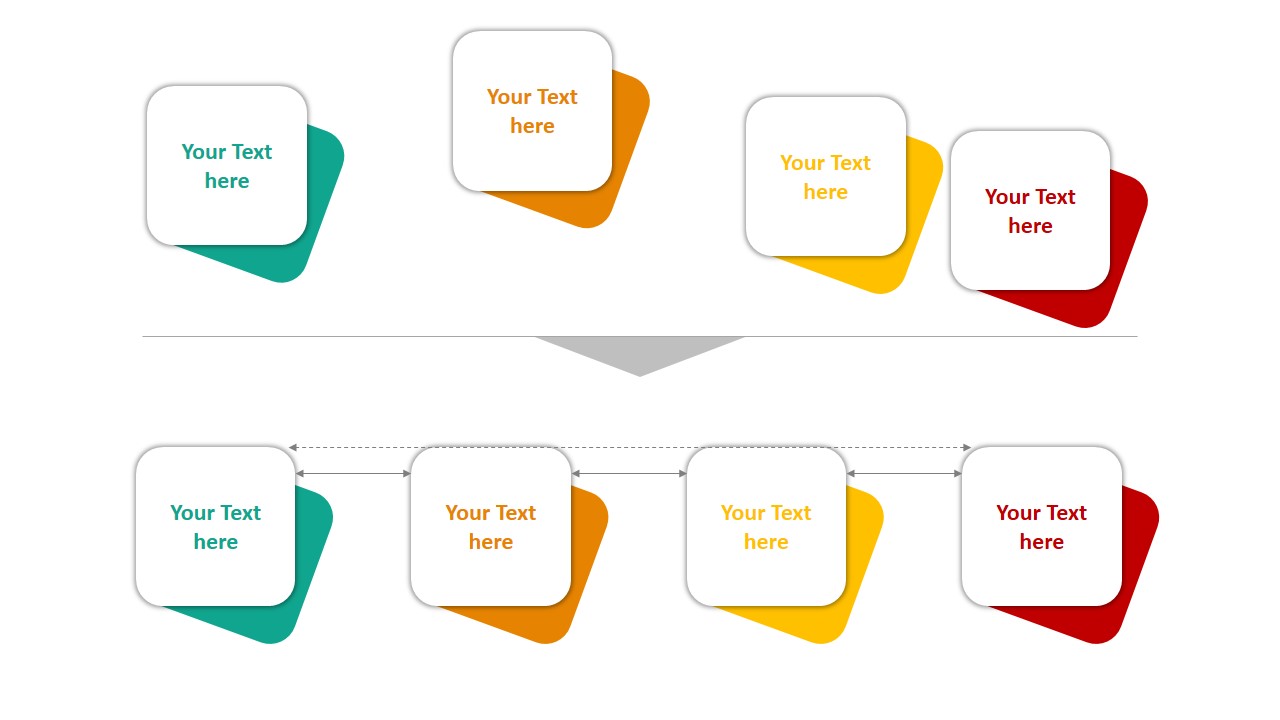
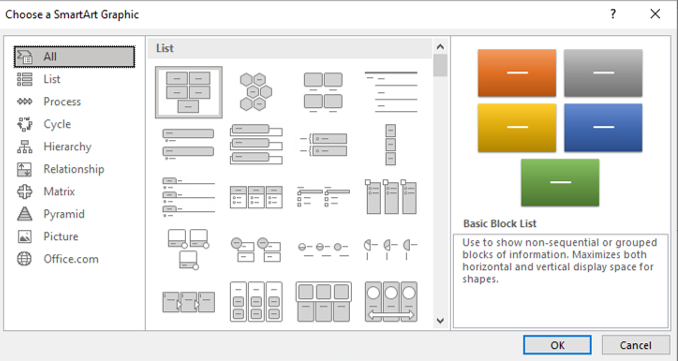
4. Convert Bullets into SmartArt Graphics
Boring bullet points can make your presentation dull. Quickly transform them into engaging visuals with this amazing PowerPoint Tips:
 Select the bullet points
- Click Convert to SmartArt under the Home tab
- Choose a layout that fits your content SmartArt makes information more digestible and visually appealing.
 Select the bullet points
SmartArt is particularly effective for visualizing processes, hierarchies, and relationships between ideas. You can further customize it by changing colors, styles, or even converting SmartArt back to text when needed. This flexibility allows you to adapt the layout as your content evolves—great for both content-first and design-first workflows.
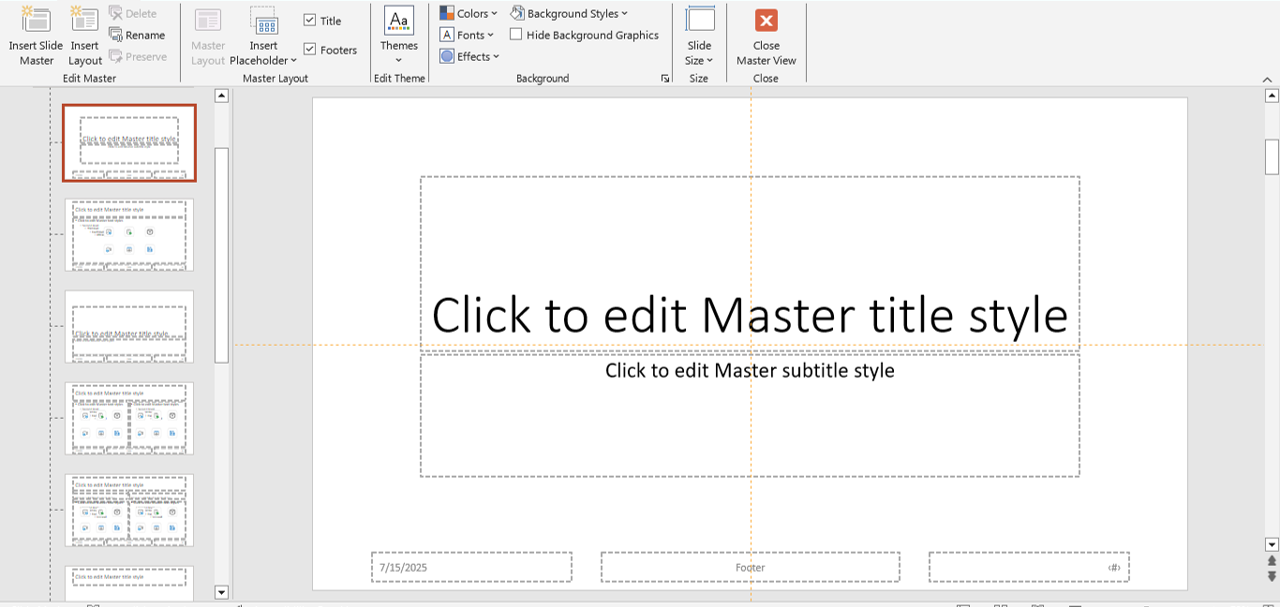
5. Master the Slide Master for Consistency
slidemaster
Tired of manually formatting each slide? Use the Slide Master to apply universal styles:
- Go to View > Slide Master
- Customize fonts, colors, and layouts
- Apply changes to all slides instantly This ensures a professional and cohesive presentation.
Using Slide Master also helps when preparing templates for teams or clients. You can create pre-defined placeholders, default font styles, background graphics, and even insert footers with your logo or branding. Any changes made to the master slide reflect across all slides, saving massive time during last-minute edits. Learn how to make effective slide templates with our post on 5 Basic PowerPoint Tools.
6. Use Morph for Seamless Animations
Instead of using complicated animations, try the Morph transition for smooth movement between slides:
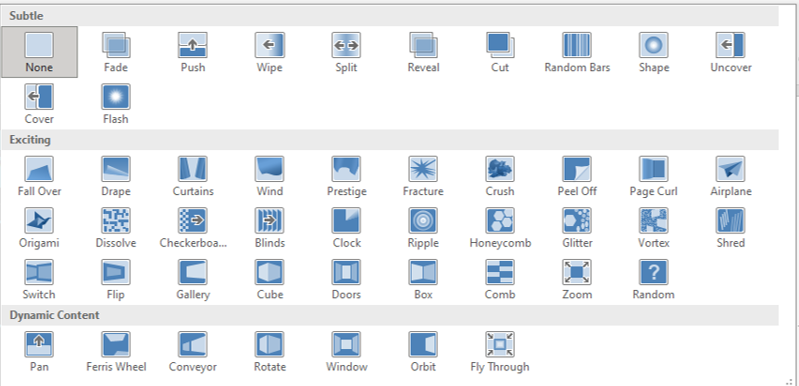
- Duplicate a slide
- Move or resize objects on the second slide
- Apply the Morph transition under Transitions PowerPoint will automatically create a seamless animation effect.
The Morph transition is ideal for storytelling or demonstrating movement, growth, and transformation of data or elements. It works beautifully for showcasing before-and-after scenarios, interactive timelines, or zooming into details. It also gives a modern feel to your presentation without overwhelming the audience with too many flashy effects.
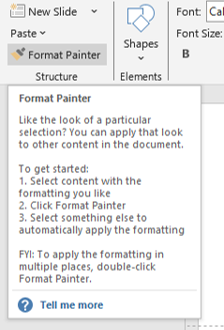
7. Save Time with Format Painter
If you want multiple objects to have the same formatting, don’t do it manually:
- Select the object with the desired format
- Click Format Painter under the Home tab
- Click on other objects to apply the same formatting Double-click Format Painter to apply formatting to multiple objects at once.
format painter
This tool is especially useful when designing slides that require visual uniformity, such as business reports or client decks. Instead of redoing font size, color, borders, or fill every time, Format Painter transfers it all with one click. Just remember that it also copies hidden formatting like shadows or effects, so always double-check the result on different backgrounds.
8. Use Keyboard Shortcuts for Speed
Memorizing a few shortcuts can significantly speed up your workflow:
- Ctrl + D (Duplicate selected object)
- Ctrl + Shift + C/V (Copy/Paste formatting)
- Alt + Shift + Up/Down (Rearrange bullet points)
- F5 (Start slideshow from the beginning) These shortcuts help you navigate PowerPoint faster.
Once you incorporate these shortcuts into your workflow, they become second nature. Combine them with Ctrl + Z (Undo) or Ctrl + G (Group) to fine-tune your slides even faster. Knowing just 5-10 essential shortcuts can cut your editing time in half—especially during tight deadlines or live presentations.
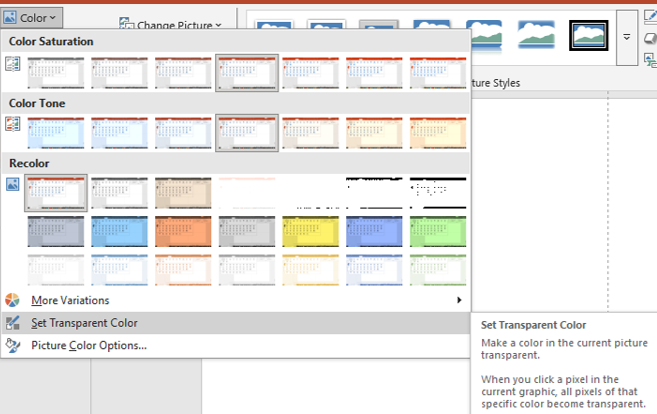
9. Remove Backgrounds from Images
No need for Photoshop—remove image backgrounds directly in PowerPoint:
- Select an image
- Click Picture Format > Remove Background
- Adjust the selection and keep only the necessary parts This feature is handy for custom graphics and overlays.
transparency
This tool is especially useful when creating profile slides, product showcases, or custom collages. You can remove cluttered backgrounds from images and replace them with cleaner, more relevant visuals. Combine it with transparency settings to create stunning layered designs without relying on external software.
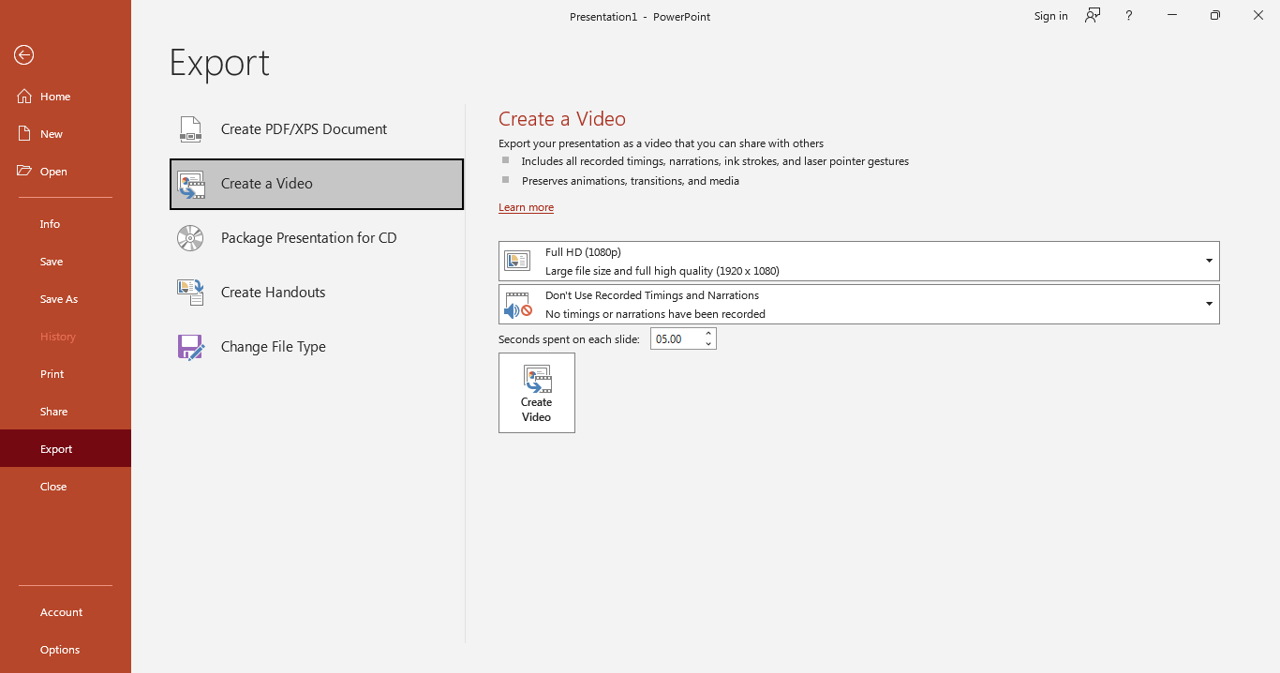
10. Export High-Quality Images & Videos
If you need to use PowerPoint slides as high-resolution images or videos:
- Go to File > Export
- Choose PNG/JPEG for images or MP4 for videos
- Set the resolution to Presentation Quality or higher This is useful for creating marketing materials and tutorials.
video
Exporting as MP4 with recorded timings and narrations allows you to turn a static presentation into an explainer video or training resource. You can also export individual slides as high-resolution posters or thumbnails for social media or email banners—helping you repurpose your content for multiple platforms.
Final Thoughts
These hidden PowerPoint Tips can drastically improve your efficiency, allowing you to create professional presentations faster. Start using these tips today and watch how much time you save!
Do you have a favorite PowerPoint trick? Share it in the comments below! 🚀


